Following on from my previous posts on setting up Ruby on Rails development environments for previous Mac OSX releases, here I am again showing how I installed Ruby, including MySQL, etc on Yosemite.
1: Install Xcode or the Xcode Command Line Developer Tools
Open Terminal and type git and you should receive this message, click on the Install button and hit agree to confirm. This may take a few minutes to download & install.
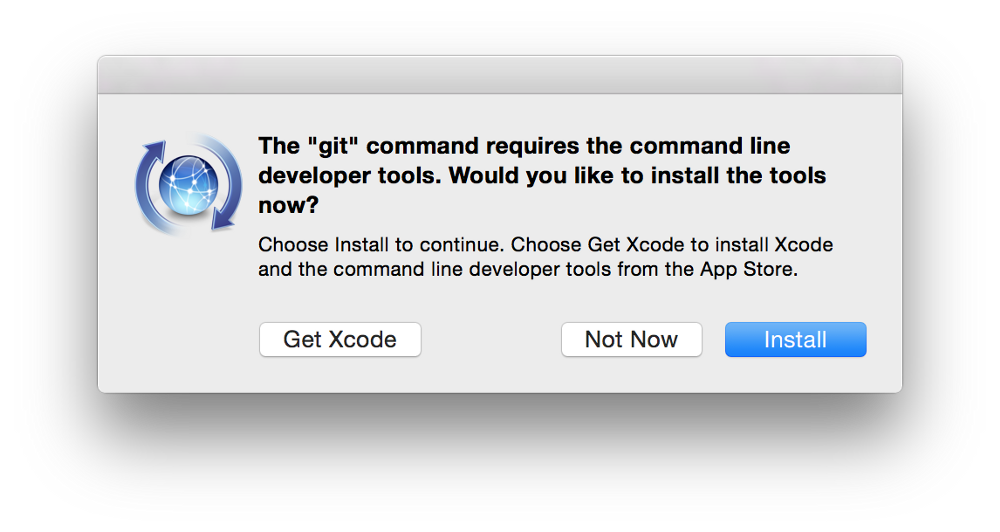
Or you can download them from the Apple Developer site (requires login) & run the downloaded file
2: Install Homebrew using the command below. It will ask for your password for sudo privileges.
ruby -e "$(curl -fsSL https://raw.githubusercontent.com/Homebrew/install/master/install)"3: Run brew doctor to check that Homebrew is working OK. You should see a message saying “Your system is ready to brew.”
4: Install RVM by running these commands. The last command should show the latest version of RVM, which in my case, is 1.25.33
\curl -sSL https://get.rvm.io | bash -s stable
source $HOME/.rvm/scripts/rvm
rvm -v
5: Install all the Ruby versions you require. This is up to you but I installed the following
rvm install 2.1.3
rvm install 2.1.0
rvm install 2.0.0
6: Set a Ruby version as default
rvm use 2.1.3 --default7: Install Bundler & Rails
gem install rails bundler --no-ri --no-rdoc8: Install Pow
curl get.pow.cx | sh9: Install ImageMagick
brew install imagemagick10: (Optional) Install MySQL
brew install mysqlAnd that’s it, you now have a Ruby on Rails development environment set up on Yosemite!